
Design Process: From Start to Finish
Design is a process—an evolving idea or concept that is tweaked and tuned until it is perfect. It doesn’t just happen overnight. Often, we work with clients that have never worked with an interior designer before. Therefore, the design process is uncharted territory to most. To give you a glimpse into the world of interior design, we wanted to walk you through critical steps in the design process.
Pre-Design:
This phase is key to any project. There is a lot of behind-the-scenes work setting up a project, informing and downloading critical team members, and reviewing the criteria and needs of the project. This may be in the form of organizing appropriate questionnaires, file management, measuring existing spaces and existing conditions, setting up technical drawings, etc. If the right information is recorded, collected, and translated, we are moving the project in the right direction.
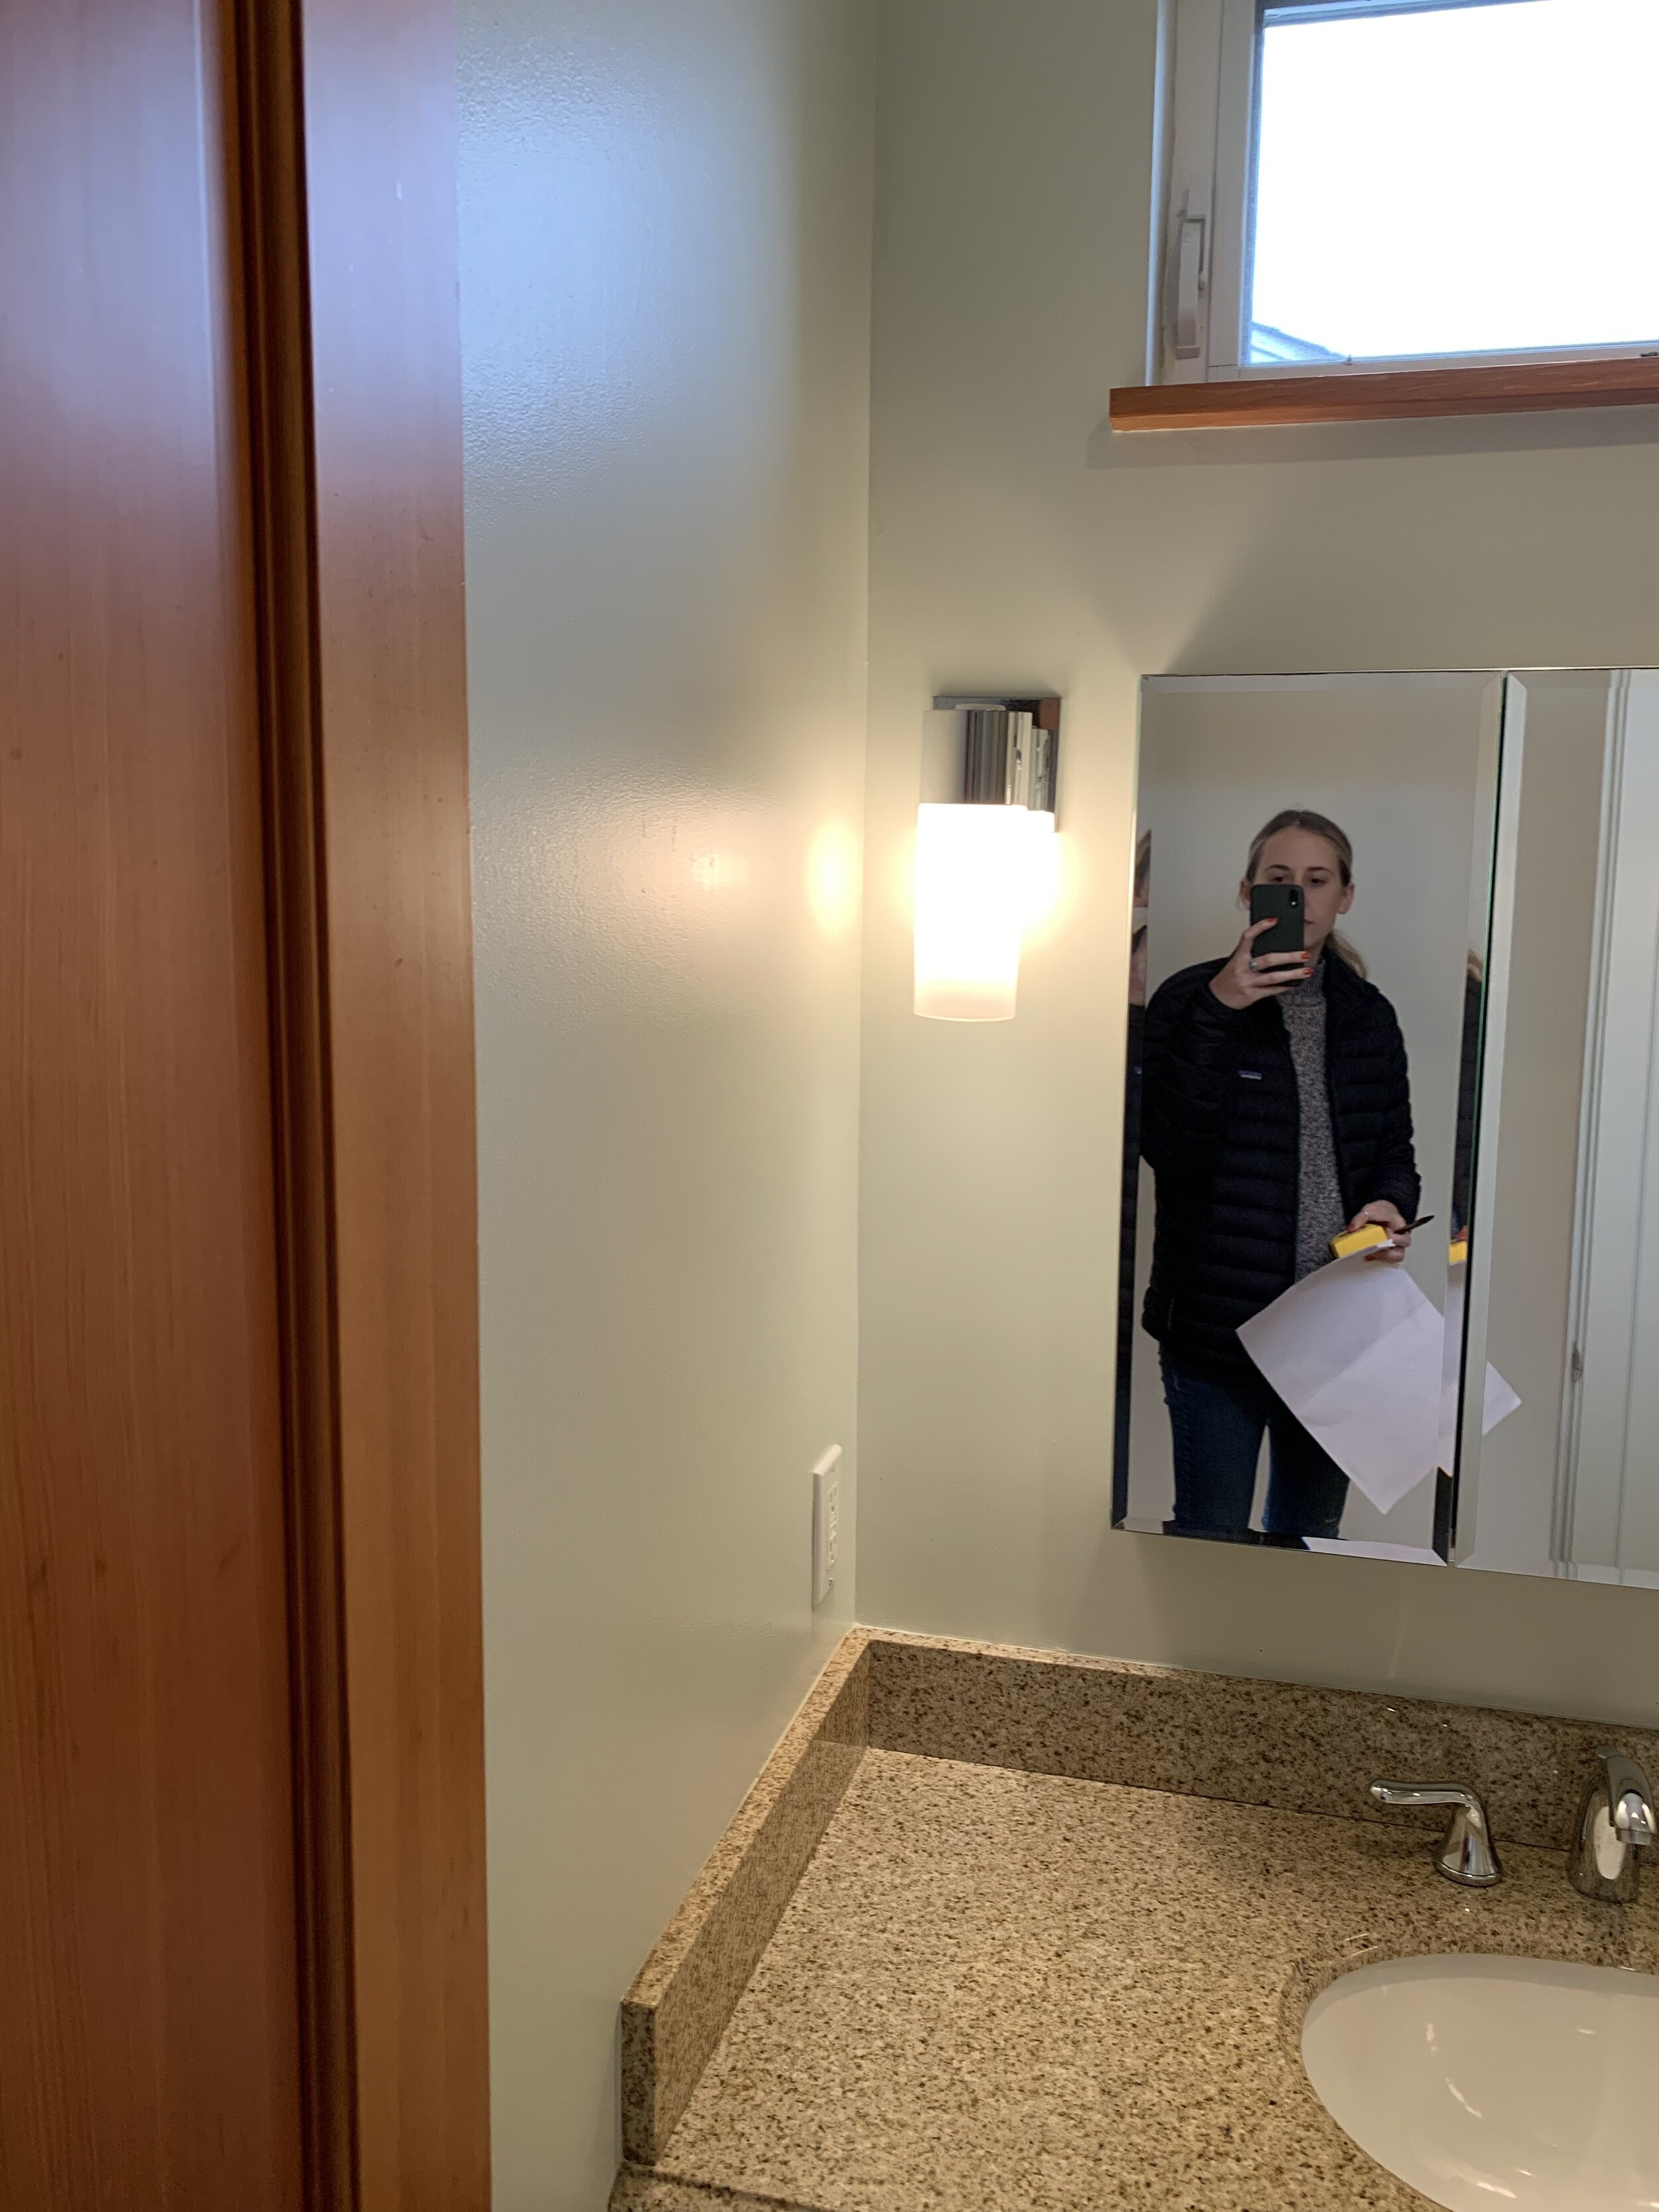
Interior Designer, Lindsey Griffin, documenting a bathroom’s existing conditions.
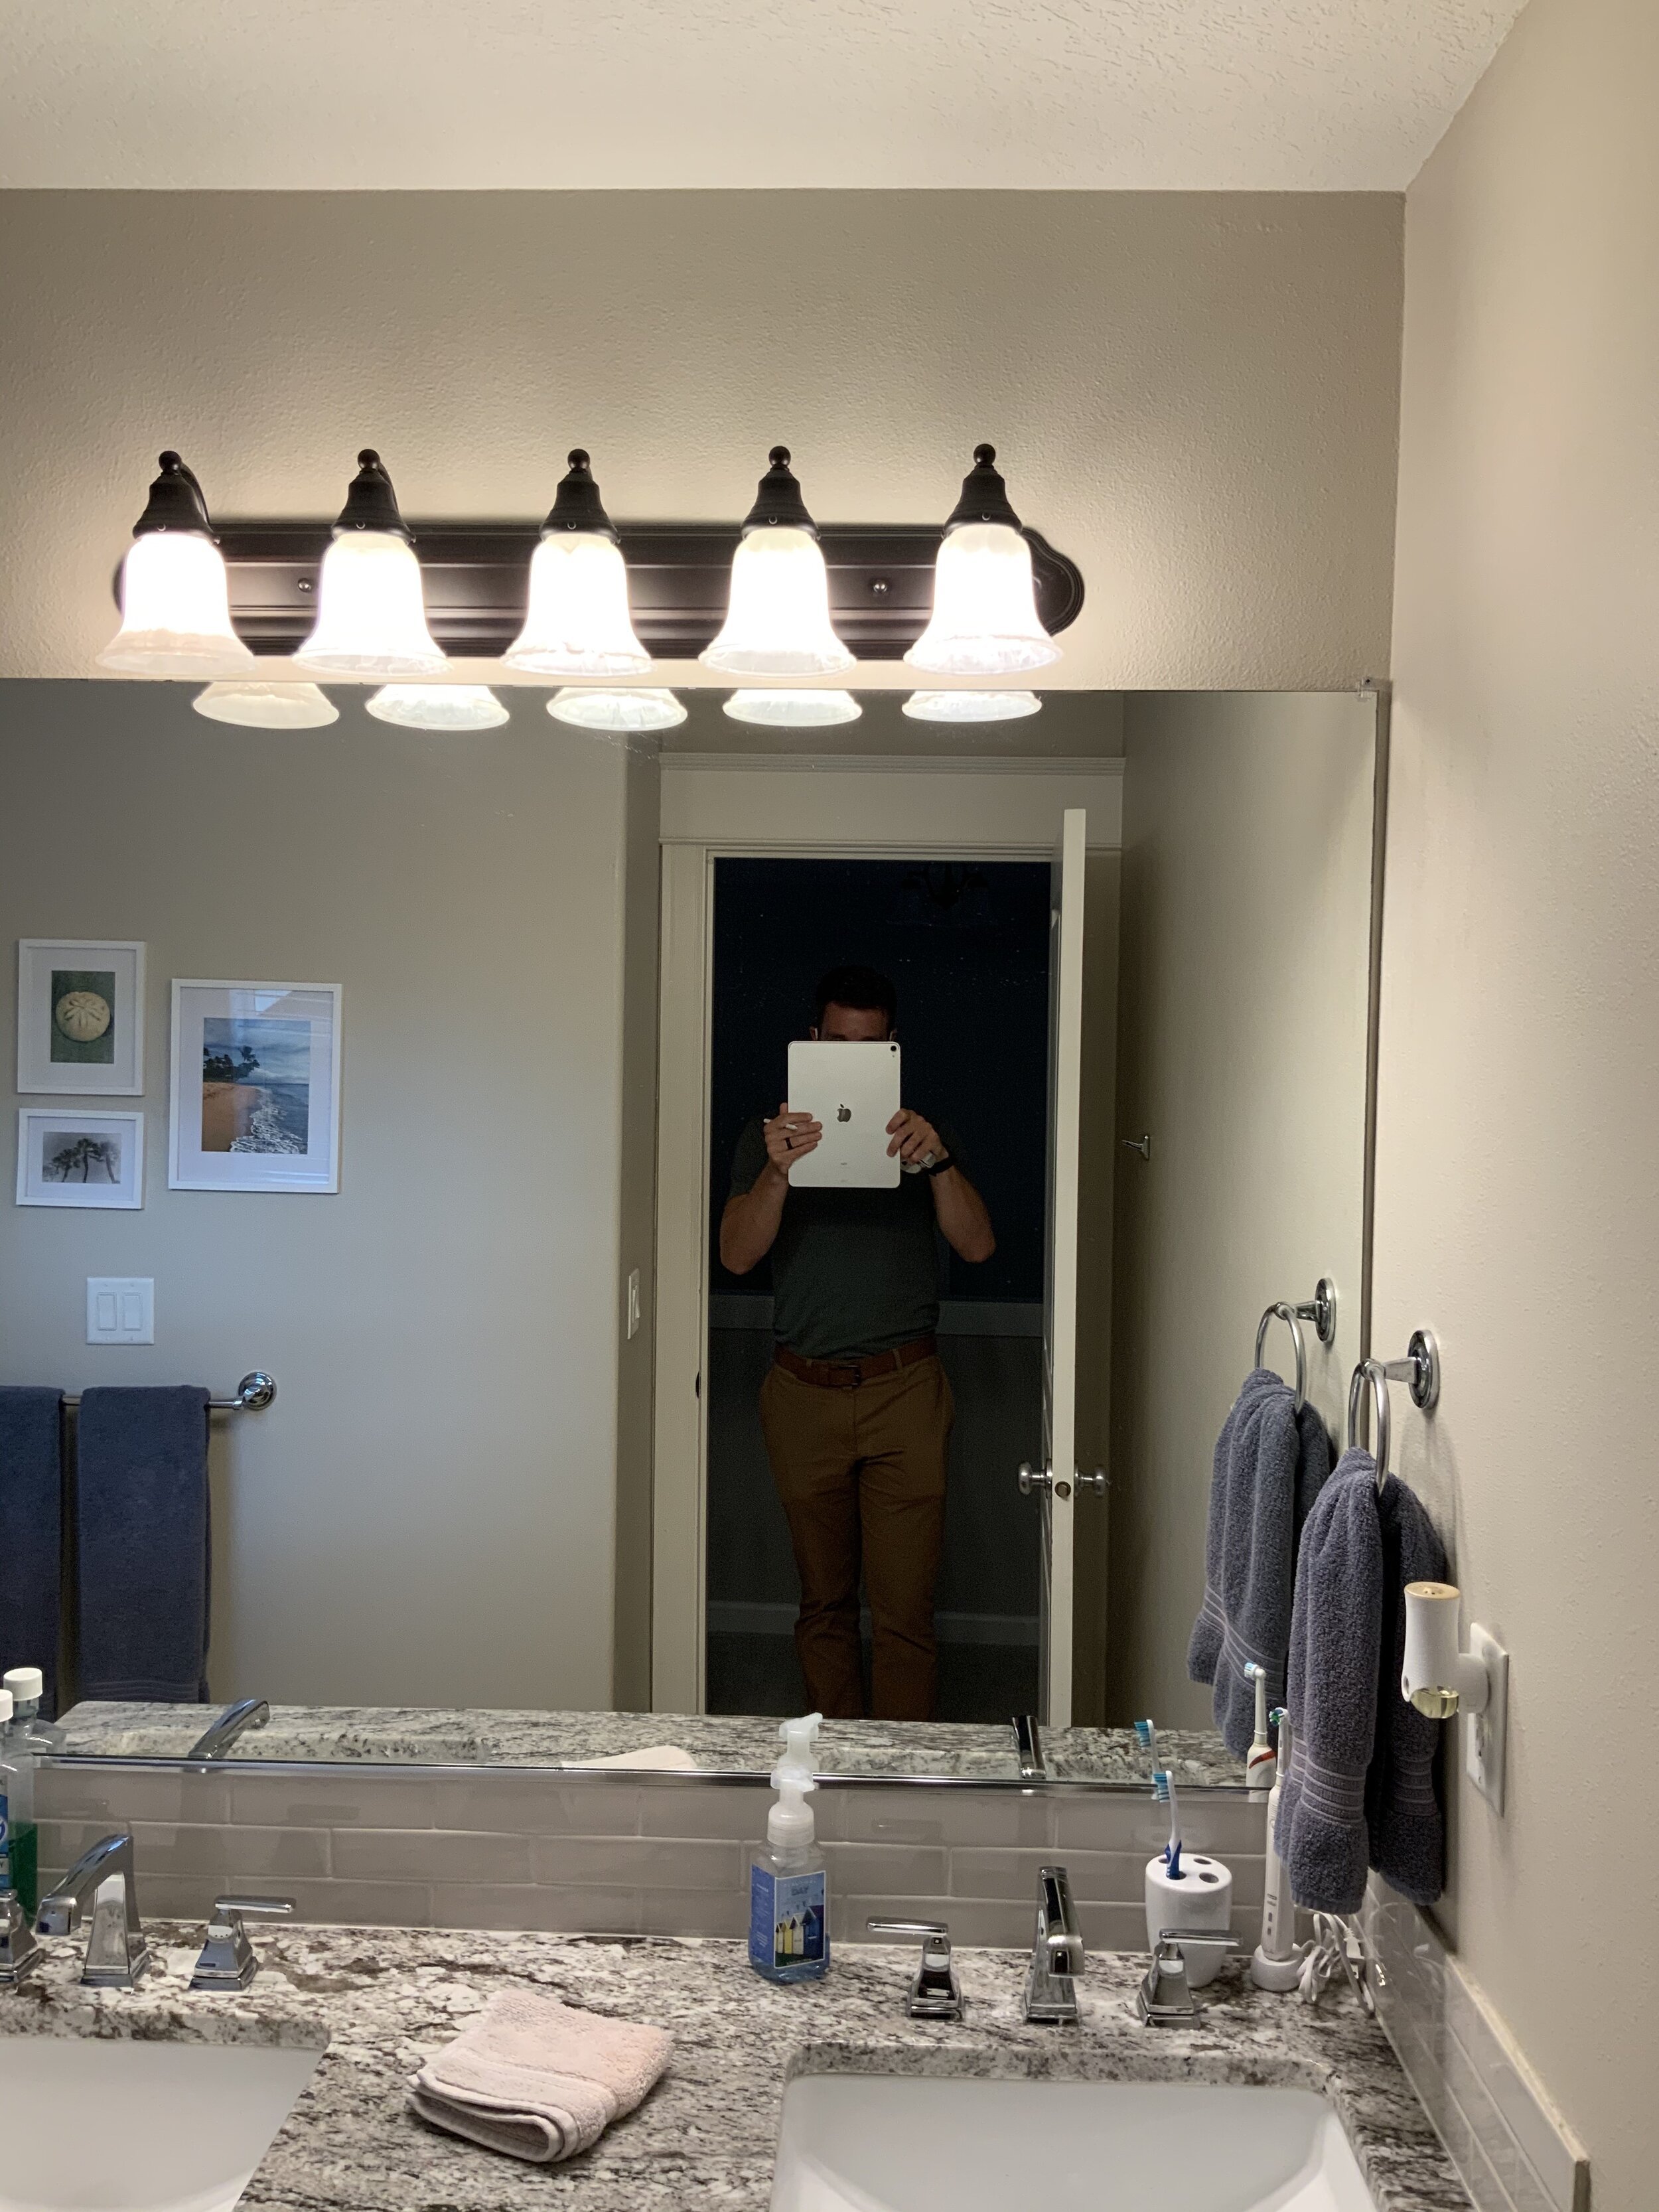
Senior Interior Designer, Collin Kayser, documenting yet another bathroom’s existing conditions.

Example of site visit notes where existing measurements and conditions are collected and recorded.
Schematic Design (SD):
The schematic design phase references high level design. Our design team is putting a pulse on the potential of the project we are working on. Therefore, we are exploring initial inspiration, floor plan and space plan studies, and evaluating initial materials and preliminary selections. Our goal in this phase is to translate potential options and ideas to our client to think critically and purposefully about the direction the project can go. In most large projects, we will complete (2) two schematic design presentations.

Studying material palettes for a whole house design. Option #1 palette represented above.

Studying material palettes for a whole house design. Option #2 palette represented above.

If a client is working with an outside firm for architectural services, we will often review and redline the plans based on some preliminary concerns/thoughts/ideas we have. The example above represents the third redlining for this project’s floor plans.

Above is an example of some initial schematic studies of a contemporary living room fireplace design.
Design Development (DD):
If the schematic design phase is considered a bird’s eye view on a project (high level/overall perspective), the design development phase is more focused on determining the final design, look, and intent. This means having a clear idea of what the project/space/room will look like. Plans and layouts are locked, design intent and direction has been developed, and all selections and design ideas are determined during this phase. It is at this point in the design that we must focus on constructability and feasibility (budget). This will include making decisions in the following areas:
Finish materials (e.g, flooring, tile, countertops, etc)
Plumbing
Lighting and electrical
Hardware
Cabinetry and casework
Appliances
Doors, windows, and millwork
Depending on the project size, we typically plan for (2) two design development presentations.

Exploring and defining lighting options for the entry during the design development phase.

Exploring and defining lighting options for the entry stairwell during the design development phase.
Construction Documentation (CD):
Moving through the schematic and design development phase can take several weeks to several months to complete—depending on the size and level of detail required for the project. We will have spent hours determining design elements, presenting to our clients, and making definitive decisions. The construction documentation phase is all about documenting all of the design decisions we have made so that a client and/or contractor can execute the project as seamlessly as possible. These documents are the road map to completing a project. During this phase, our team produces (3) distinct documents.
Plan Set:
The plan set is a compilation of technical drawings that depict the modifications and intent of each space. A typical plan set from GHID may include the following:
Floor plan: depicts framing location and layouts/flow of each space
Furniture plan: depicts furniture sizing and placement within a space or room
Finish Floor Plan: depicts flooring material, transitions, and design layout of flooring
Reflected Ceiling Plan: depicts lighting layouts and ceiling architectural details (soffits, beam layouts, coffer details, etc.)
Electrical Plan: depicts placement and layout of electrical requirements (outlets, cable/internet needs, docking drawers, etc.)
Interior Elevations: depicts details of interior spaces in a 2-dimensional format. Elevations will include information about cabinet layouts/details, tile design, material selections, sizing, etc. They serve as a visual and technical tool to communicate what a space will look like.

Example of elevations within the planset provided to the client and contractor.
Schedules:
Schedules are our way of recording technical information for the selected products. This information will be critical for the client/contractor to purchase and install the correct items. Our schedules include information like manufacturer, product name and item number, finish color, sizing, etc. The schedules will also provide key notes about installation methods, concerns, or key information pertinent to applicable subcontractors. Typical schedules that GHID provides for most projects include:
Finish Schedule
Plumbing Schedule
Lighting/Electrical Schedule
Cabinetry Schedule
Hardware schedule
Door, window, millwork schedule,
Appliance schedule
Miscellaneous schedule

Snapshot of a plumbing schedule that would be provided within the construction documentation set.
Stylesheets:
Stylesheets are used for presentations and visual reference as we move throughout all phases of the project. During the construction documentation phase, we modify the stylesheets to be a visual representation of the design decisions we have made. Therefore, you will see imagery of all the items outlined in the schedules above. Stylesheets are used for quick check-ins to ensure proper items are being installed.

An example of a completed stylesheet for a powder bathroom design is shown above. The plumbing schedule and elevations for this project are seen above as well.
Construction Administration (CA):
When we complete a design for a project, it doesn’t mean we are done with the project. We want to continue to be a resource and outlet as the client and contractor execute the design vision. The last scenario we want is for decisions to be made on site or on-the-fly while jeopardizing the look, feel, or intent that the client and designer have worked hard to create. We also understand the construction process can be long, stressful, and full of many decisions. We want to be that resource to help reduce decision overload and minimize stress.
At minimum, we have found success in GHID maintaining involvement in the following areas:
(3) site visits and reviews in the following categories:
Construction Documentation hand-off/review with contractor and trades
(1) Site visit and follow up during electrical/plumbing
Cabinetry shop drawing review and edits
(1) Site visit and follow up during cabinetry installation
(1) Site visit and follow up during finish/plumbing/lighting installation

Owner’s suite fireplace during framing stage.

Owner’s suite fireplace during drywall stage.

Owner’s suite fireplace during punch-list walk through.

Above you can see the progression of the owner’s suite fireplace construction. GHID was involved in construction administration throughout the building of this home to ensure designs were executed per our intent. You can see the final fireplace/bedroom design above.
The design process is a combination of multiple phases where thoughtful consideration and decisions are made. By following the phases as outlined above, we are able to efficiently and effectively move through a project. We can then provide our client and their contractor with a detailed, complete, and thoughtful design to be fully bid and executed with ease. Our goal in the end—a happy client with a beautiful home.